Tuesday, November 23, 2021

Tuning (Jetting) Suzuki DR650

I've just completed tuning (aka jetting) the stock Mikuni BST40 Constant Velocity ("CV") type carburetor on my recently purchased 2012 Suzuki DR650 (15,000 miles) using the James Dean JDJetting Kit No. JDS013. I have experience tuning my first DR650s, although the first involved a new, fresh off the showroom floor, 2016 model. I used the JD Kit on that one as well, based on information and reviews that I considered on the DR650 Forum.


I actually have quite a little experience tuning and jetting CV-type carburetors, having owned the two DRs, two KLRs and two Super Sherpas. When it comes to tuning normally aspirated fueling systems, I believe jetting kits are the way to go. Of course, there are several brands of kits other than the JD on the market for our consideration. In general, though, with jetting kits you typically get the following:
  • A selection of Jets: A number of different jets sizes for different applications. The JD Kit came with Mikuni #140, #145, #150, #155 Main Jets and a replacement #42.5 Pilot Jet. With all those jets, the Kit supports future mods.
  • Needles: Often kits include a motorcycle specific, or selection, of needles with different lengths and tappers. The JD Kit came with two height-adjustable needles with tappers to fit differing climates and altitudes.
  • Guidance on tuning parts selection. 
ProCycle offers a bunch of nice kits, including one of their own design.


Essentially, tuning/jetting a carburetor encompasses configuring the fueling flow level (i.e. amount of gas) and the fueling ratio (i.e. the mix of fuel to air, usually around 1 part fuel to 15 part air) to a motorcycle in either it's stock form or modified form. Tuning/jetting involves selecting a combination of jets, needle, needle height, and fueling mixture. In some instances, it may also other involve physical modifications to the carburetor (e.g. the ProCycle Kit recommends drilling a small hole in the slide to adjust the CV vacuum level).  

Why jet/tune the DR (and many other brands/models)? The general answer is that carburetors do not provide constant and correct air-fuel mixtures to the engines they serve ... period!
  • No-Modifications: It is widely believed (including by me) that the stock configuration of naturally aspirated motorcycles is designed too heavily in response to governmental fuel and emission standards resulting an excessively lean fueling mixtures. Tuning a richer mix (more fuel + less air) improves engine performance, but at the cost of fuel efficiency. I jetted my new, fresh off the showroom floor 2016 DR650 for this reason. 
  • Modifications: Jetting is considered appropriate and may, in fact, be necessary when modifications are made to the motorcycle design. The BST40 is configured (fitted, so to speak) to work with the stock motorcycle and all it's parts. However, there are changes to the motorcycle that can interrupt that stock configuration (e.g. exhaust, air box, motor cams). The most common modifications are (i) air box modifications and (ii) installing performance enhancing exhaust systems. Modifications have the affect of changing the engine's needs in terms of the amount of fuel, the mix of fuel/air or both. Tuning and jetting adjusts the carburetor to accommodate a better running powertrain.
  • Horsepower: NO! As some may suggest, jetting does not increase horsepower. Perhaps whatever modification giving rise to the jetting increases horses. But the jetting itself only reconfigures the carburetor to allow those performance enhancing modifications to work on the motorcycle.
In this most recent exercise, one issue on my recently purchased 2012 DR650 was Airbox Modifications. Generally, airbox modifications involve one or more of (i) removing the snorkel, (ii) cutting a hole in the air box, (iii) removing the airbox door, altogether and/or (iv) adding a hi-flow air filter. These modifications naturally increase airflow into the carburetor. 
Since the motorcycle engine ignites a specific mix (or ratio) of fuel and air (usually around 1 part air to 15 parts fuel), an increase in airflow will result in leaning the mix. Generally, we don't want to lean the mix, as the factory settings seem to result in too lean a mixture in stock configuration. 

The leaner mix arising from the air box modification requires adjustment to the mixture to "enrichen" by individually or a combination of (i) a larger main jet, (ii) raising the needle height, (iii) reducing the needles taper, and/or (iii) opening the fuel screw (aka mixture screw).


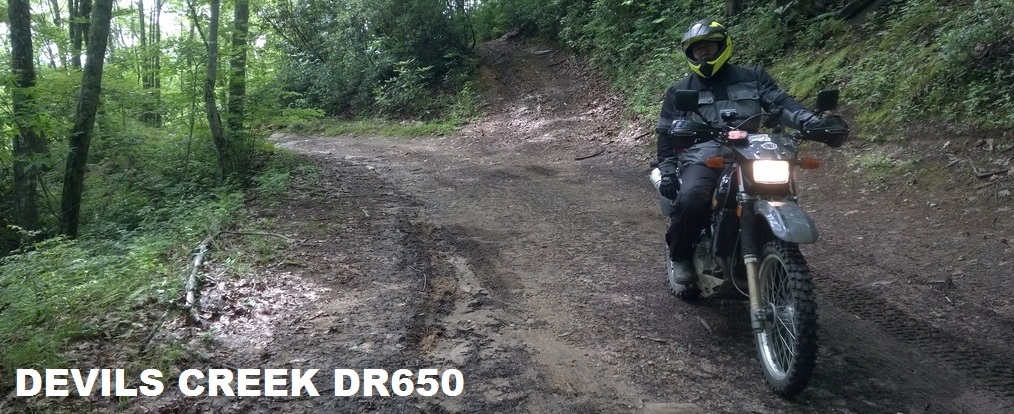
As it relates to my 2012 DR650, both the snorkel and airbox cover had been removed. Carburetor tuning changes by prior owners that I encountered, presumably to adjust the mix for the air box mods, included (i) increasing the main jet from a stock #140 to a #160 (increasing jet aperture and, therefore, fuel amount) and (ii) increasing the fuel to air mix to "richer" by turning the fuel mix screw out from 1 1/2 turns (stock configuration) to 2 1/4 turns. Both of these tuning actions pointed to enriching the fueling mix to compensation for the additional airflow from the modified airbox. 

I decided to replace the airbox cover with a new cover due to the dusty/sandy conditions that I encounter on the trails, but left the snorkel off. In addition, the motorcycle had a stutter/sputter in the upper end of the powertrain that was clearly a fueling mixture problem that needed correction. The condition is a symptom of an overly rich mixture. For these combined conditions, I set out to jet and tune the BST40.

As previously mentioned, I used the James Dean JDJetting Kit #JDS013 on both my 2016 and 2012 Suzuki DR650s; around $85 and available at ProCycle.


Here is a link to the Instructions from the JDS013 Kit. Kit components are:

  • Main Jets (Mikuni Brand): 140 (Stock), 145, 150,155
  • Pilot Jet (Mikuni Brand): 42.5
  • Needles: Blue Coded (Rich), Red Coded (Lean)
  • Needle Clip
  • 4 Replacement Cap Screws
  • Drill Bit for Slide Modification

My final configuration was: 

  • 145 Main Jet
  • 42.5 Pilot Jet
  • Red Coded Needle @ #3 Groove
  • 1.5 Turns on the Fueling Screw (note 1.5 is stock)

I followed the guidance in the JDJetting instructions (see link above) related to modification-types, climate and elevation. Jet selection and Fueling Screw adjustments, on the other hand, is and was a matter of trial and error irrespective of their instructions. The following procedural points and considerations may help through the trials:

1. Test Your Mods: Determine the affects of the modifications and performance parts along the entire powerband before jumping into jetting. Don't assume that a new pipe or a air box mod will require re-jetting; they may not. Understand what the affects are with some long test rides. A sluggish/sputtering throttle is the result of an overly rich mixture. Bogging is the result of an overly lean mixture. Jetting is dealing with the amount and mix of air and fuel so defining the issue before fixing it (or not) sort of goes without saying.

2. Clean It: Don't tune/jet a dirty carburetor. Make sure the carburetor on a used motorcycle is properly cleaned before jetting and tuning. Consider the guidance in The BST40 Bible on Adventure Rider. The author of that post did a better job on the disassembly and cleaning that I could do here.

3. Warm it Up: The ultimate tuning decisions and fine tuning adjustments need to be done when the motorcycle is in the state that it normally operates. That is, hot.

4. Ride It: You can not jet or tune your carburetor without taking it out on the road and testing it along the entire powerband. It may run fine at idle or twisting the throttle sitting on the stand. It would be different out on the road and, for that matter, pure luck to get the tuning zeroed in the first time. Consider this, when I used to work at the powersport dealerships our service personnel would advise service customers that the carb may have to be removed up to three times (and re-jetted) following road testing to get zeroed in on the proper tuning.

5. Needle Selection: In my opinion, needle adjustment and selection is low-hanging fruit in the tuning process. The needle, being right in the middle of things going on the carburetor, controls the majority of all throttle settings up and down the powerband. Needle height and taper affect mixture. Lowering the needs or expanding the taper make the mix leaner. Raising the needle or thinning the taper makes the mix richer. The needle taper is not adjustable; rather, some kits (including the JD) offer different needles with different tapers. All needles (for the BST40) have grooves to allow for lowering and raising using a simple C-clip. Start the trek on tuning the BST40 with the C-clip in the middle groove. 

6. Jet Selection: Jet selection governs the amount of fuel based on the size of its aperture (i.e. the hole going through the middle). Generally, the goal of jet selection is ultimately to select the smallest Main Jet (smallest aperture) that supports fueling adjustments necessary for the modifications or objectives. There may, in fact be a range of main jet sizes that seem to work, but fine tuning is going to result in better performance if the smallest in that range can be selected. The fueling screw, as discussed in the next point, can help identify the best jet for the job.


6. Fueling Screw: The fueling screw governs the air/fuel mixture (turn out = more fuel = richer; turn in = more air = leaner). Fueling mix is the "finest" of fine tuning the carburetor. It should be noted that, irrespective of the modifications, the fueling screw should generally be kept at or near the stock setting. In the case of the Suzuki DR650, that setting is 1 1/2 turns out (also the recommended initial setting in the JDJetting Kit). If the tuning requires turning the screw too far out or in from that setting (say 1/2 turn either way), the jet selection is probably incorrect. For example, if I needed to turn the fueling screw out 2 1/2 turns to zero in on a #145 Main Jet, I would bump the jet to a #150 (more fuel flow) and put the turns back to 1 1/2.


This photo ^ shared from The BST40 Bible.

Overall, tuning the BST40 is a process of understanding the affects that modifications have on the motorcycles performance along the entire powerband and then tuning them in. It's important to understand how the individual tuning elements interact in achieving the proper amount of fuel and the proper mixture of air and fuel ... and not going too far.

Monday, November 22, 2021

TransFlorida 2021 Part 2

 The first serious work for my DR650 Part 2 (this is my second DR650) was the November version of the 2021 Semi-Annual Trans Florida Adventure Rally, i.e. Part 2. 

The Rally launched out of Palatka, Florida (east cost) on Day 1 and terminated 250 miles later in Monticello, Florida. Day 2 was a different 230 mile track back to Palatka. I've ridden the TF for several years and, while the starting/finish has always been Palatka, the organizers place the mid-point in a different city; normally one of the cities along the Gulf, this track had us all the way up near Tallahassee!

Overall, I estimate a better than 50-50 dirt to pavement ratio, but that still equates to being in the gravel, dirt, sand and dust much longer. I've ridden the Trans Florida for several years and, quite frankly, this event was the best of the tracks they've prepared for us. 


While I stayed in a hotel in Monticello the first night, I had camp set up at Rodman Campground throughout the weekend. A little fishing on Friday and Monday in the Rodman Reserve and Rallying over the weekend.


Light and nimble being the best way to handle these types of events, I stripped the DR650 down to bare bones. No need for boxes and center stands and whatever else. Generally, all I need is one change of cloths and tube replacement tools for the Trans Florida.


I have some video of the starting line in Palatka.

The next event we're registered for is the Polar Bear Adventure Rally out of Keystone Heights, Florida on January 6-9.

Stay tuned.